

Data Center
The Data Center is your hub for managing workspace data in MessageDesk. It has two tabs:- Import: upload CSVs of contacts and historical messages, map fields, resolve duplicates, and monitor progress.
- Message History: search, filter, and export every message sent or received in your workspace.
Access the Data Center
Go to Account → Settings → Data Center (under Workspace Settings), then choose the Import or Message History tab.Don’t see Data Center? Your role may not include access. Ask an Admin or Manager to adjust your permissions.

How to import contacts
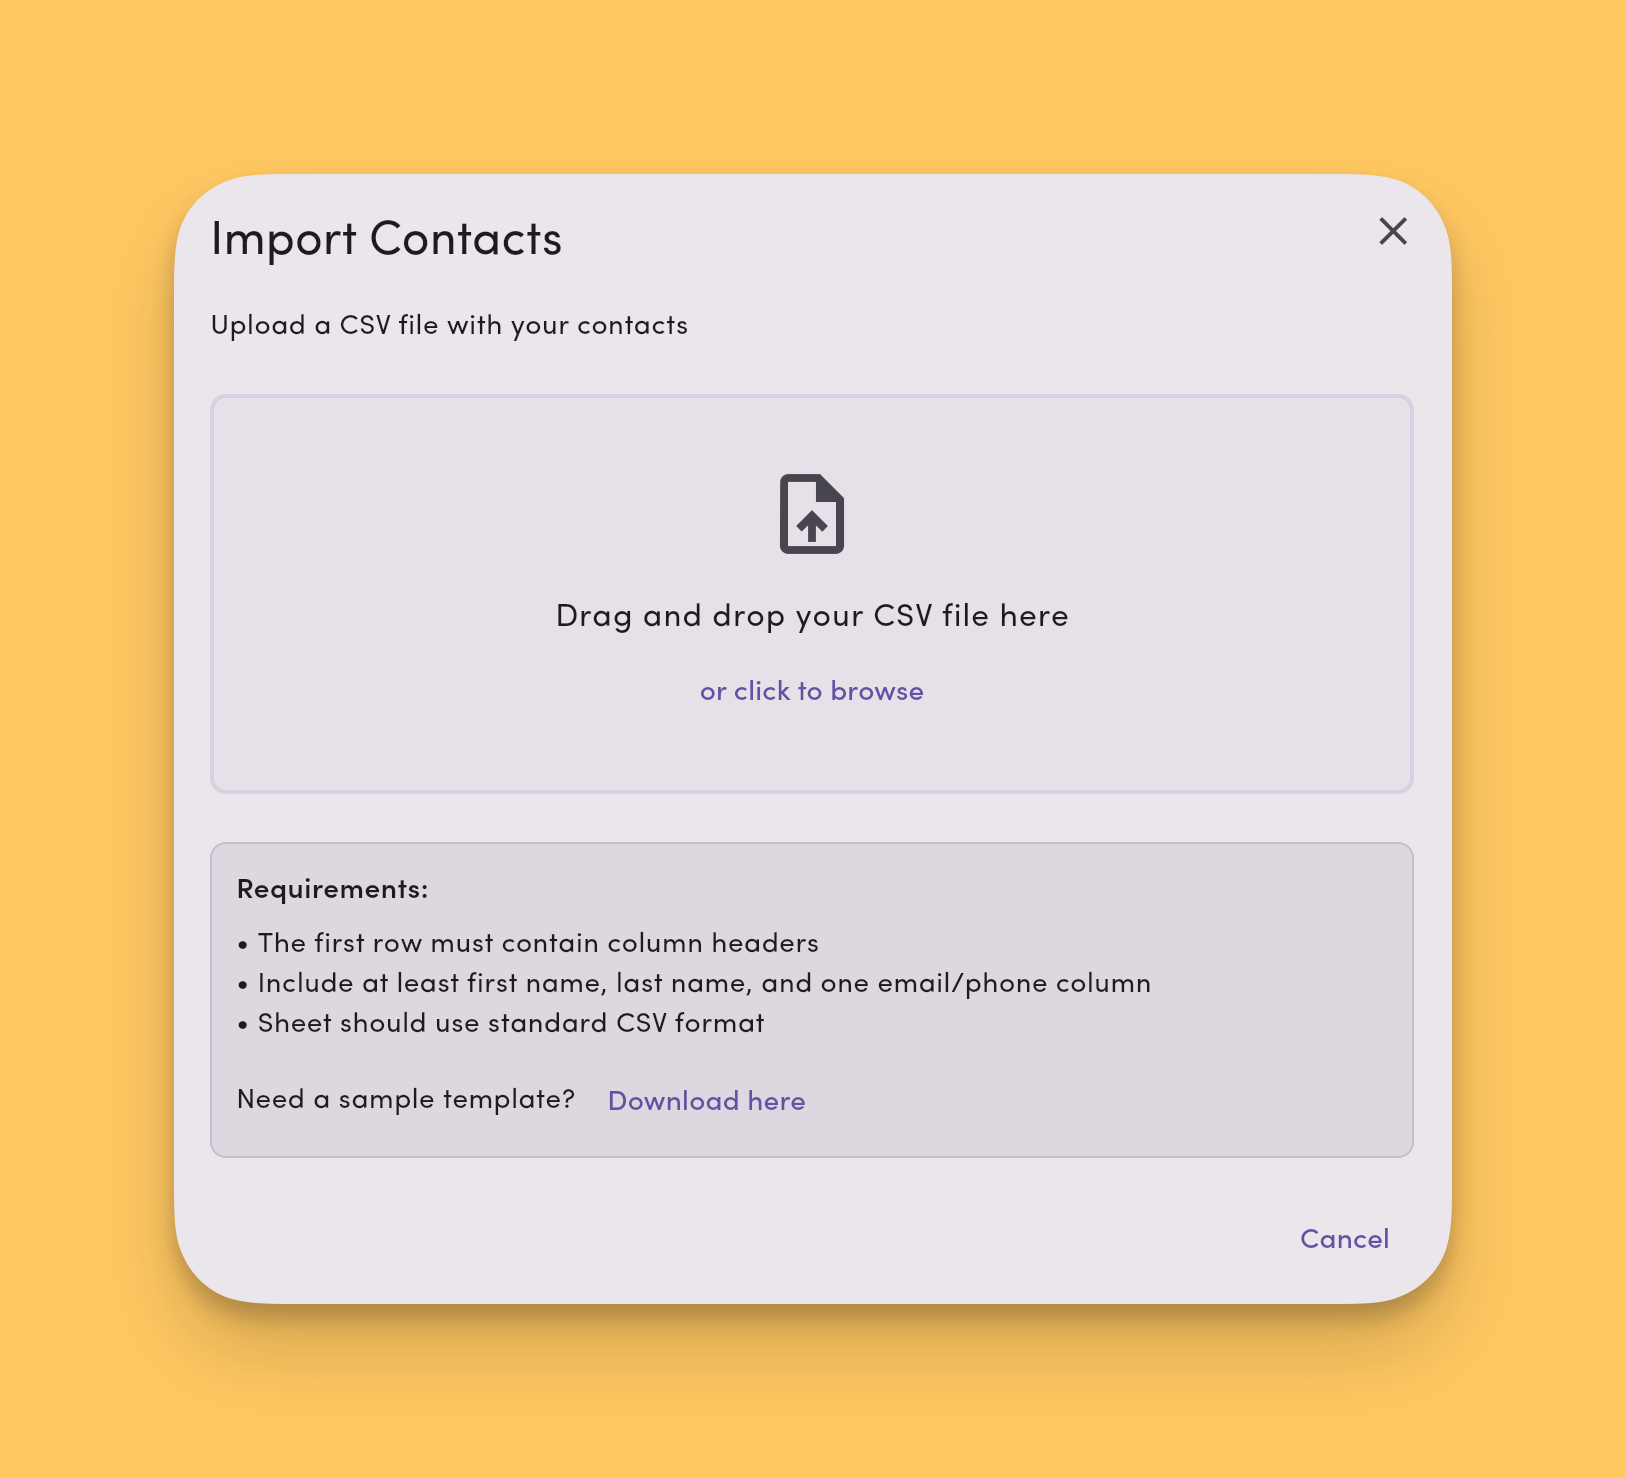
Build your contact list quickly by uploading a CSV and mapping it to MessageDesk fields.Start an import
- Open Settings → Data Center.
- Click Start Import.
- Choose your .csv file and upload.
Map your columns
- Columns that match MessageDesk field names auto-map.
- Adjust mapping manually as needed.
- You can map custom fields. Make sure the CSV data type matches the field type.
Review duplicates and errors
- MessageDesk updates duplicates (matched by email or phone) with the values in your import. Only mapped columns with a value get updated. Empty cells leave existing fields unchanged.
- The importer flags invalid data (for example, bad phone or email format) so you can fix it and re-upload.
- Processing skips problem rows.
Monitor progress
After you start the import, you’ll see the real-time status. When complete, a summary shows total processed, imported, skipped, and any error reasons.See Create and Import Contacts for a step-by-step walkthrough.
How to import messages
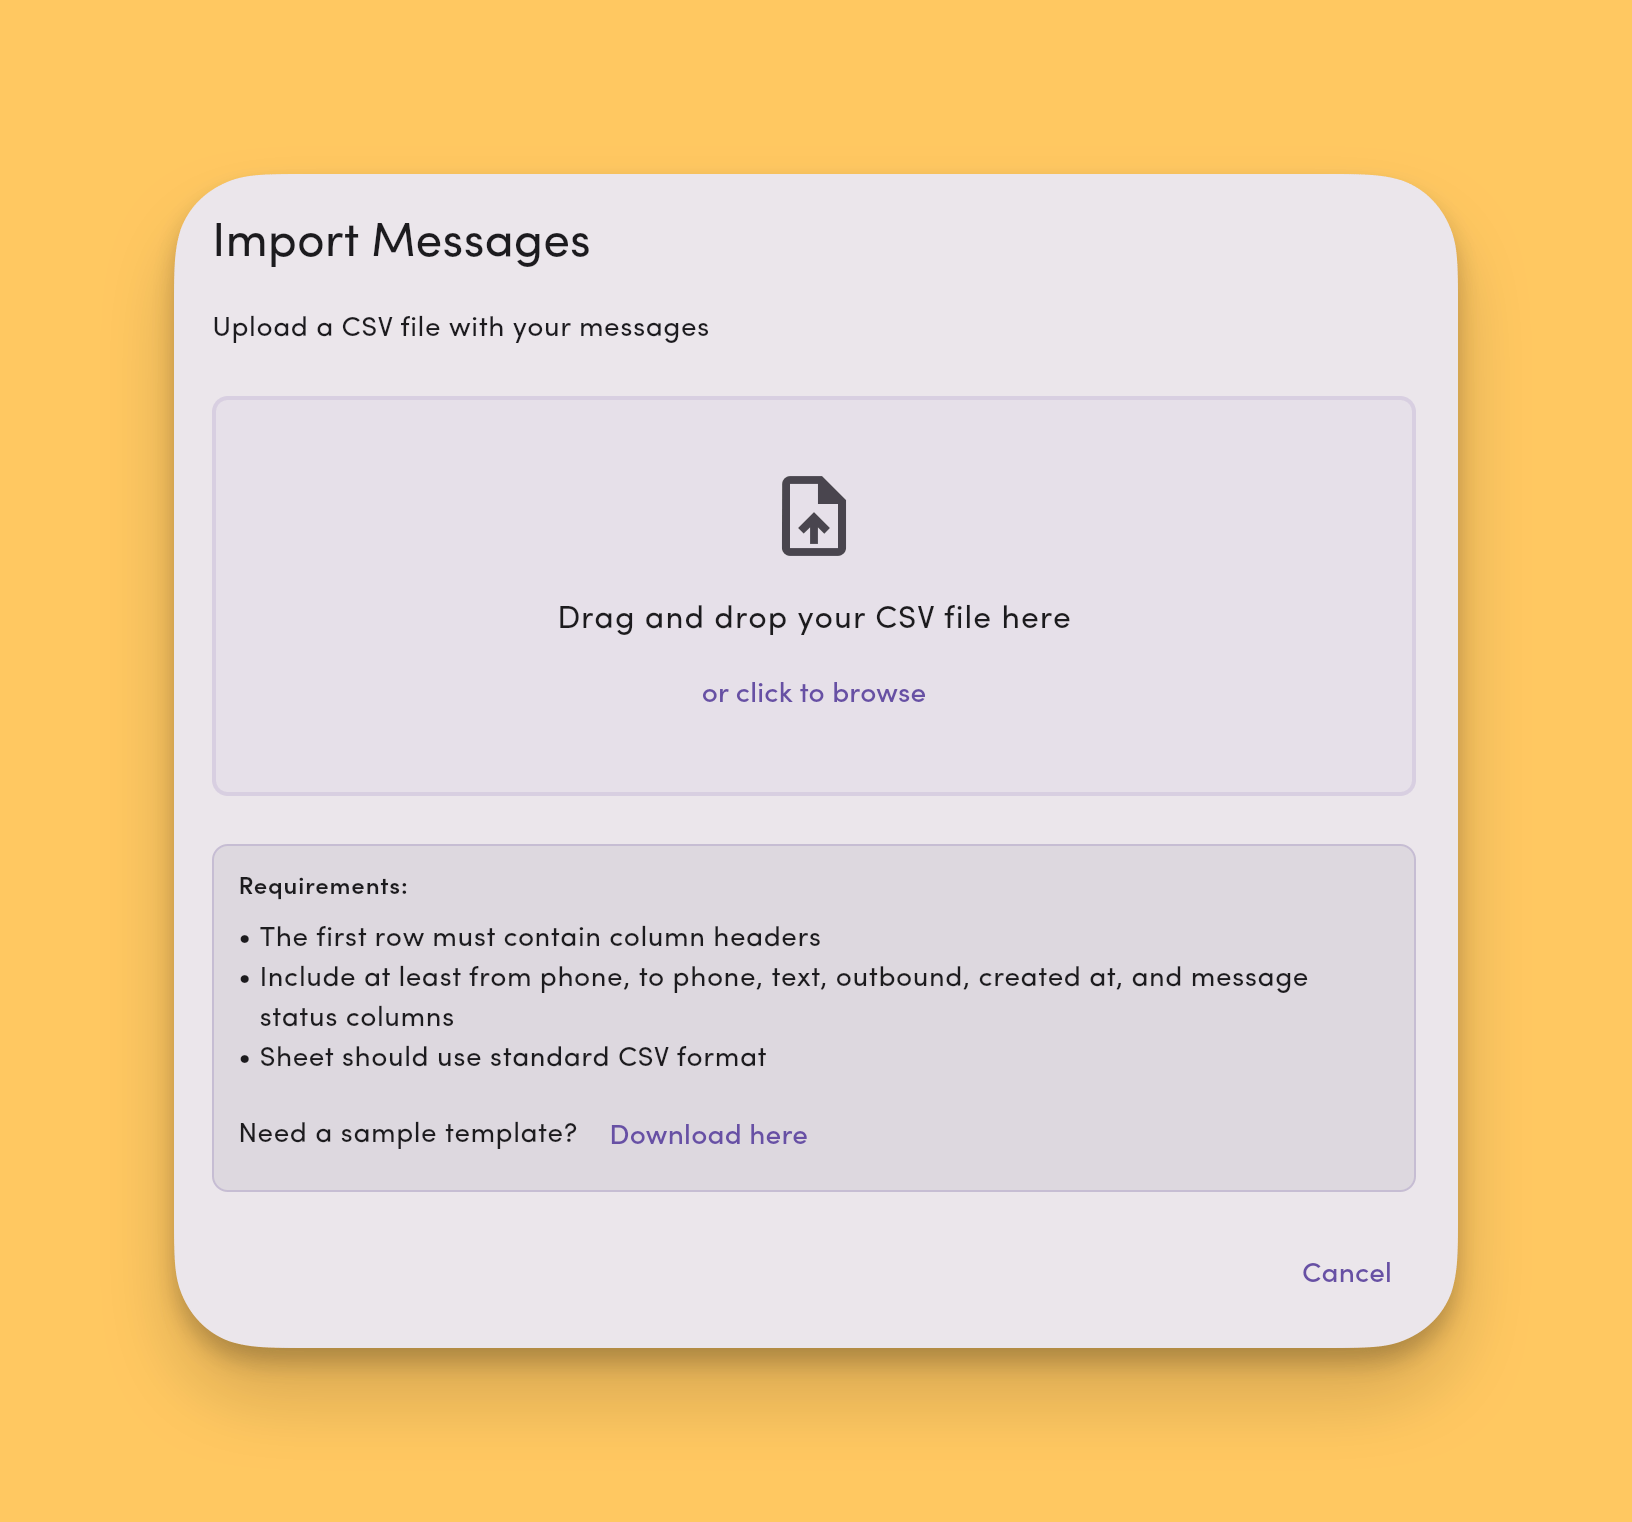
Import past SMS from any platform or service into MessageDesk so you keep the full conversation context.Start a message import
- Open Settings → Data Center.
- Click Start Import.
- Upload your .csv file.
Map your data
- Map CSV columns to MessageDesk message fields (timestamp, direction, phone number, text, channel/line).
- Review and confirm the mapping for accuracy.
Validate, review, and import
- Preview parsed messages and fix any errors the validator surfaces.
- Click Import to start processing. A bottom banner flags pre-import issues (if any).
Supported message types
- Outbound (sent) messages.
- Inbound (received) messages.
- 1-on-1 conversations.
- Group conversations.
How message import works
- Automatic conversation creation: If a conversation doesn’t exist for a row, MessageDesk creates it.
- Existing conversations: Rows match into existing threads when possible.
- Channel requirement: You can only import messages into outbound channels that already exist in your workspace.
File requirements and limits
Format- CSV only (
.csv). - UTF-8 encoding.
- Include a header row.
- Each row must have the same number of columns as the header.
- For contacts: At least one method: email or phone
- For messages: Required fields typically include timestamp, direction (inbound/outbound), phone number(s), message text, and channel/line identifier
- Emails must be a valid email format.
- Phone numbers must be valid E.164 (
+15551234567). - Custom fields must match their defined type.
- Duplicate detection runs on email and phone (contact imports).
- Max rows per file: 5,000
- Max file size: 10 MB
- Platform: Web only (imports aren’t supported on mobile or desktop apps)
What gets imported
- Contacts
- Custom fields (when mapped)
- Messages (text content only. No media or internal comments.)
Coming soon. More workflows (labels, opt-outs). Watch the Data Center for new options.
Message History
The Message History tab is a searchable, filterable archive of every message in your workspace. Use it to audit conversations, build reports, or export filtered slices to CSV or PDF.Access message history
Go to Settings → Data Center → Message History.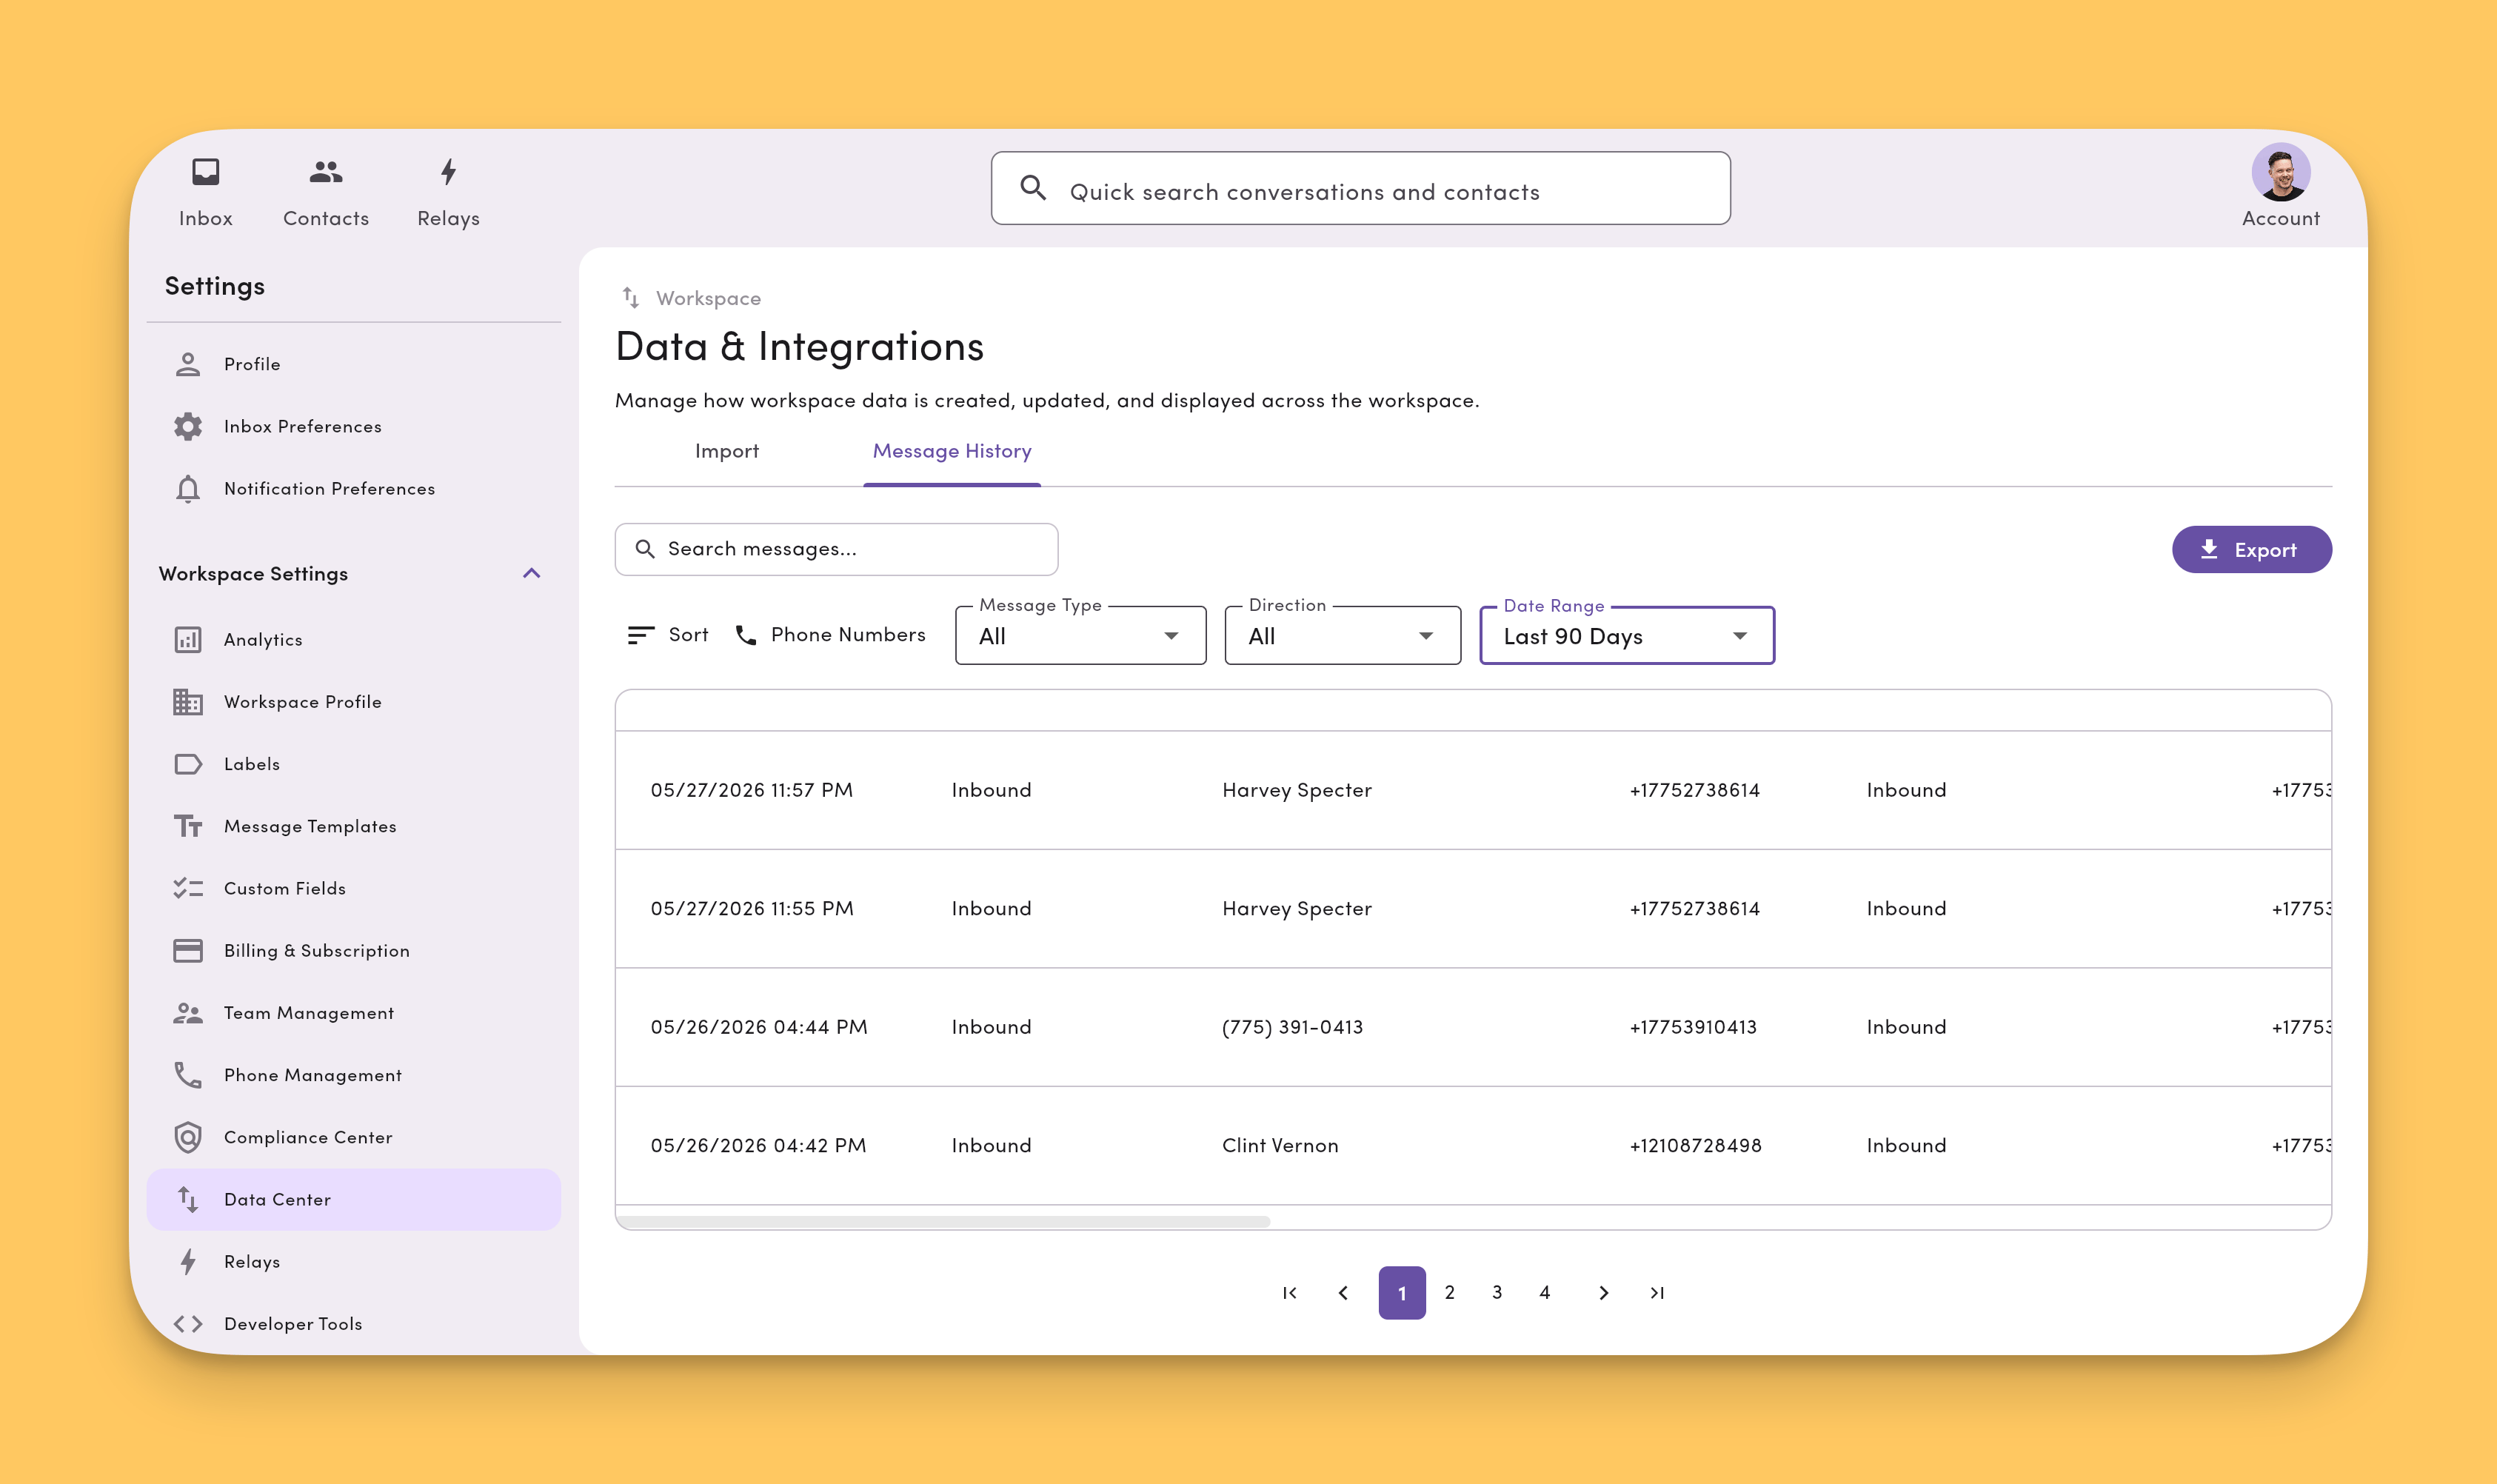
Filter your messages
Narrow the list using the filter controls at the top of the tab. Available filters:- Phone Numbers: scope results to one, several, or all phone lines in the workspace (see Scope by phone number)
- Date range: limit results to a specific window
- Direction: inbound or outbound
- Message Type: filter by message type
- Contact: messages tied to a specific contact
- Label: conversations carrying a given label
- User/agent: messages sent by a specific teammate
- Status: delivery state (e.g., delivered, failed)
Scope by phone number
Use the Phone Numbers filter to control which phone lines are included in the view and any export.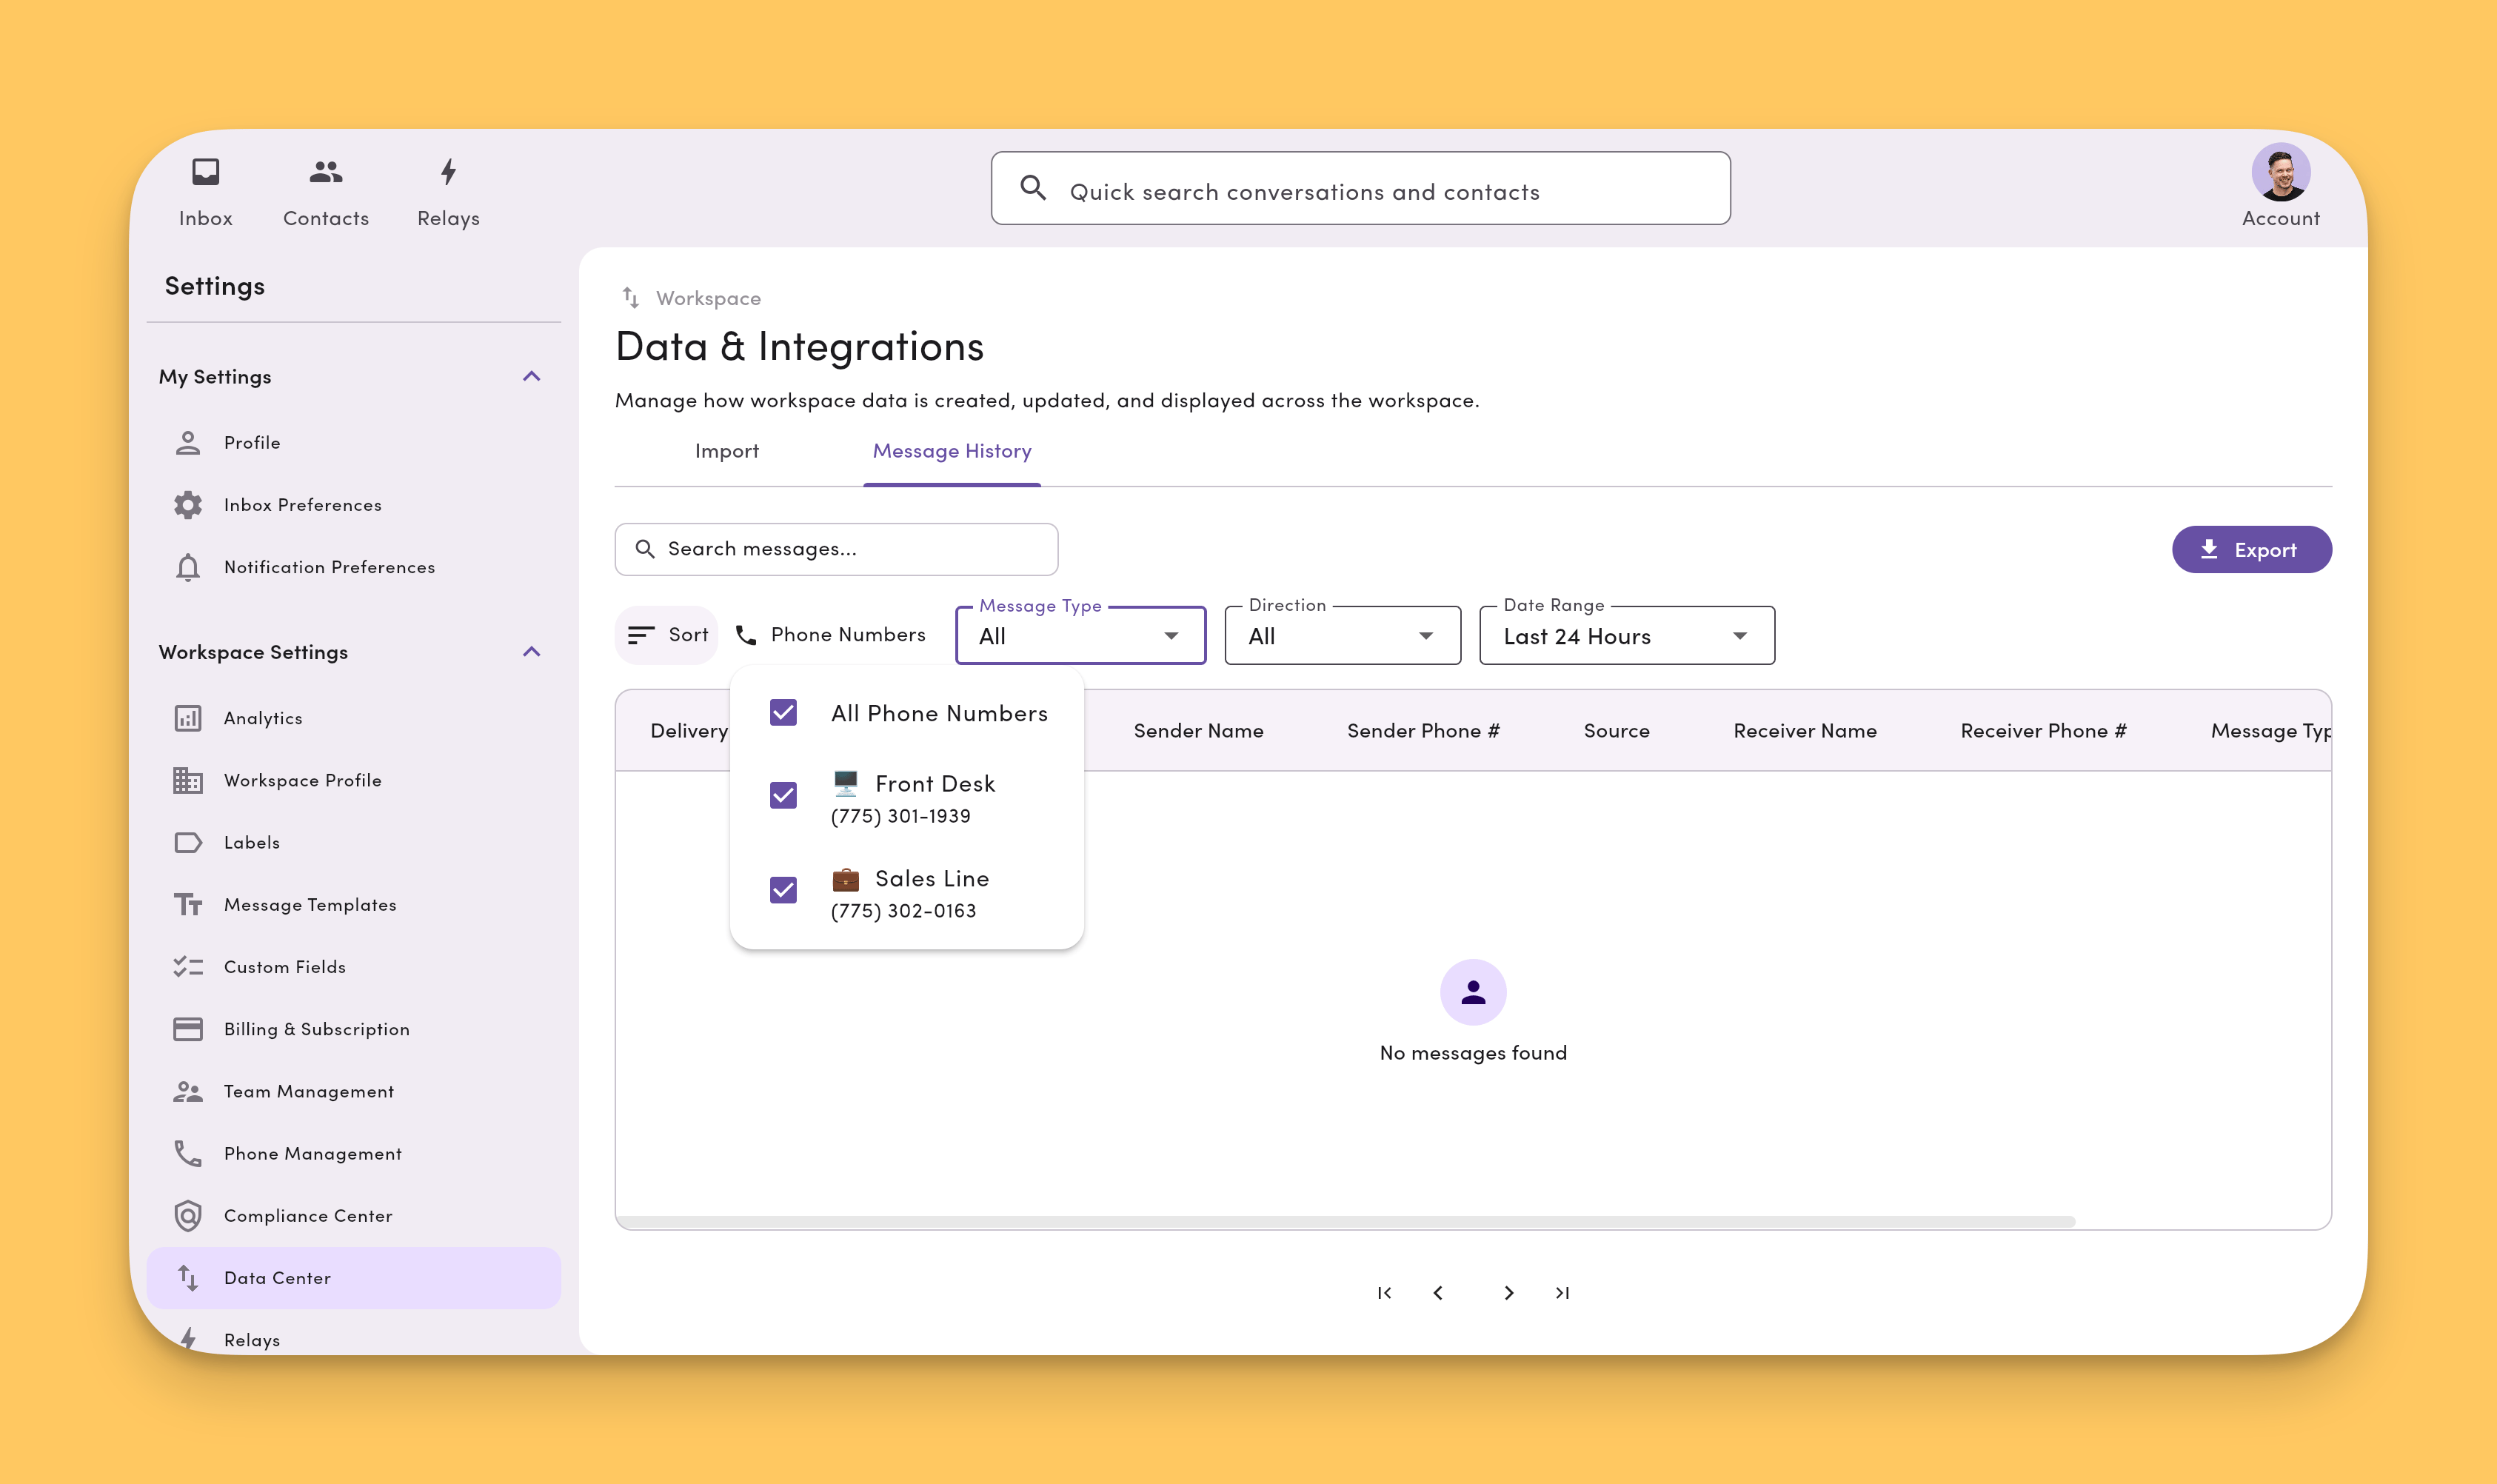
- All Phone Numbers. Leave every line checked to include the entire workspace’s Message History across all phone lines in a single export.
- A single phone number. Uncheck the others to scope Message History (and the resulting export) to just that line. For example, only your Front Desk or only your Sales Line.
- A subset of lines. Check any combination of lines to export just those.
Search within results
Use the search bar to run a free-text search across the messages currently shown. Search runs on top of your active filters, so you can drill into a filtered slice rather than the entire archive.Export your text message history to CSV or PDF
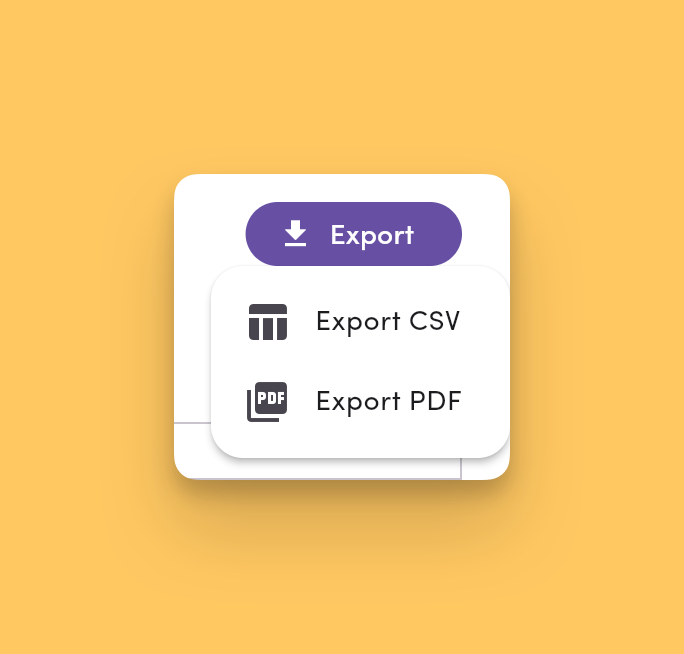
- All phone lines in a workspace. Leave every line checked in the Phone Numbers filter to export the workspace’s full Message History in one file.
- A single phone number. Uncheck the other lines in the Phone Numbers filter to export Message History for just that line.
Tenant-level exports aren’t supported. If your tenant has more than one workspace, Message History exports run per workspace. There’s no way to export across all workspaces on a tenant in a single file.
Once your export finishes processing, you’ll see an in-app notification that reads “Export Available”. Click the notification to download your
.csv or .pdf file.- From a conversation. Open the conversation in the Inbox, click the ⋯ More Options menu in the conversation toolbar, and choose Export → PDF. See Export a conversation for the full per-conversation flow.
- From Message History. Apply your filters in Settings → Data Center → Message History, then choose Export to PDF.
- The PDF embeds renderable media (images and other formats supported in PDF) inline.
- For non-renderable media (videos and other unsupported file types), the PDF shows a direct S3 link to the file and the note “Could not load preview” so the attachment stays accessible.
Permissions
Roles with Data Center access (typically Admin and Manager) can use Message History. Ask an Admin to adjust your role if you don’t see the tab.Frequently asked data import and export questions
What file types can I upload?
CSV only. Export Excel files (.xlsx) to CSV first.
Do contacts need both email and phone?
No. Each row must include at least one: email or phone (you can include both).How are duplicates handled on contact import?
MessageDesk checks email and phone. When a row matches an existing contact, MessageDesk updates that contact with the values from the import. Updates only apply to columns you mapped, and only when the mapped column has a value. Empty cells leave existing fields unchanged. Updates apply to standard fields (name, email, phone, address, and so on) and custom fields.Why did some rows fail?
Common reasons: invalid email/phone format, missing required fields, custom field type mismatch, or a channel that doesn’t exist (for message imports). Fix and re-upload.Can I import more than 5,000 rows?
Split your data into multiple CSV files. Each file can hold up to 5,000 rows and ≤ 10 MB.Can I import from mobile?
No. Imports are web-only. Use a desktop browser. What’s the difference between Inbox search and Message History?The Inbox is for working live conversations. Message History is the workspace-wide archive built for audit, reporting, and bulk export. What format are exports in?
CSV for data and reporting, or PDF for shareable conversation records. Can I export Message History across every phone line at once?
Yes. In Settings → Data Center → Message History, leave every line checked in the Phone Numbers filter and click Export. That produces a single file covering the entire workspace. To export just one line, uncheck the others before exporting. Can I export Message History across all workspaces on my tenant?
No. Message History exports are scoped to a single workspace. If your tenant has multiple workspaces, run the export in each workspace separately. Are media attachments included in exports?\
- CSV exports. No. CSV files contain message text and metadata only.
- PDF exports. The PDF embeds renderable media (images) inline. For non-renderable media (videos and other unsupported types), the PDF shows a direct S3 link and a “Could not load preview” note.
Best practices
- Normalize phone numbers to E.164 before upload.
- Clean your data. Dedupe and validate emails to cut skips.
- Test with a small CSV (10–20 rows) to confirm mapping and validation.
- Keep a backup of your source CSV and import results for audit.