Save time and personalize messages with pre-saved templates and personalized tags
Templates keep your wording consistent and fast. Personalization tags pull in contact and workspace details automatically. Together, you get speed and personalized messages at scale.Why you should use templates and tags
- Save time: Stop re-typing common messages. Apply a template in one click.
- Keep messaging consistent: Standardize language across your entire team.
- Personalize at scale: Use tags to insert names, emails, phone numbers, and more.
- Reduce errors: Pre-approved text means fewer typos and missed details.
What are message templates?
Templates are reusable messages you can apply anywhere you compose a text in MessageDesk.They can include plain text, emoji, media (MMS), and personalization tags.
What are personalization tags?
Tags are placeholders, like{{ ContactFirstName }}, that auto-fill with real contact info or other saved information at send time. You can use them in templates and one-off messages to personalize every text message.
Apply, create, and edit message templates
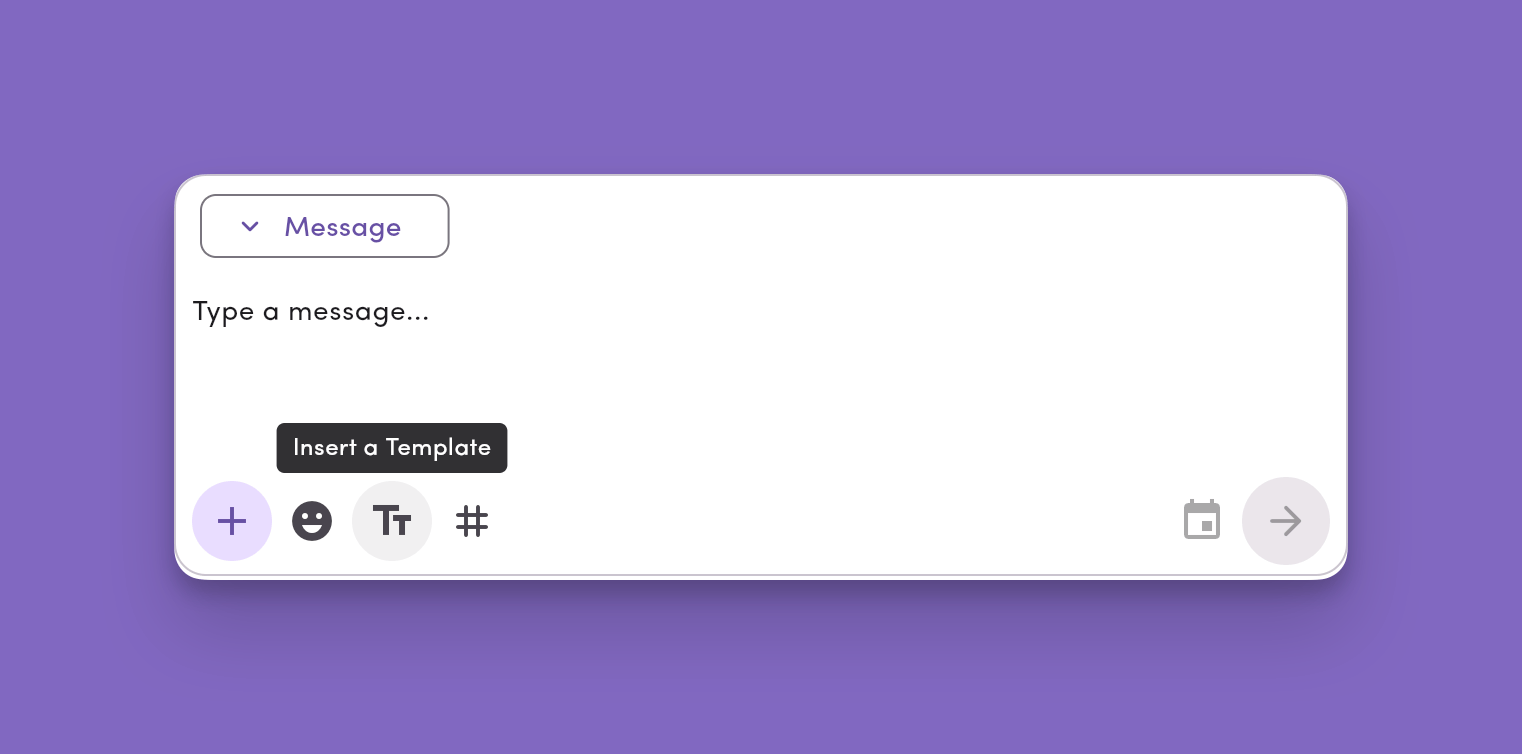
You can work with templates from any message compose box.Apply a template
- Click the TT icon.
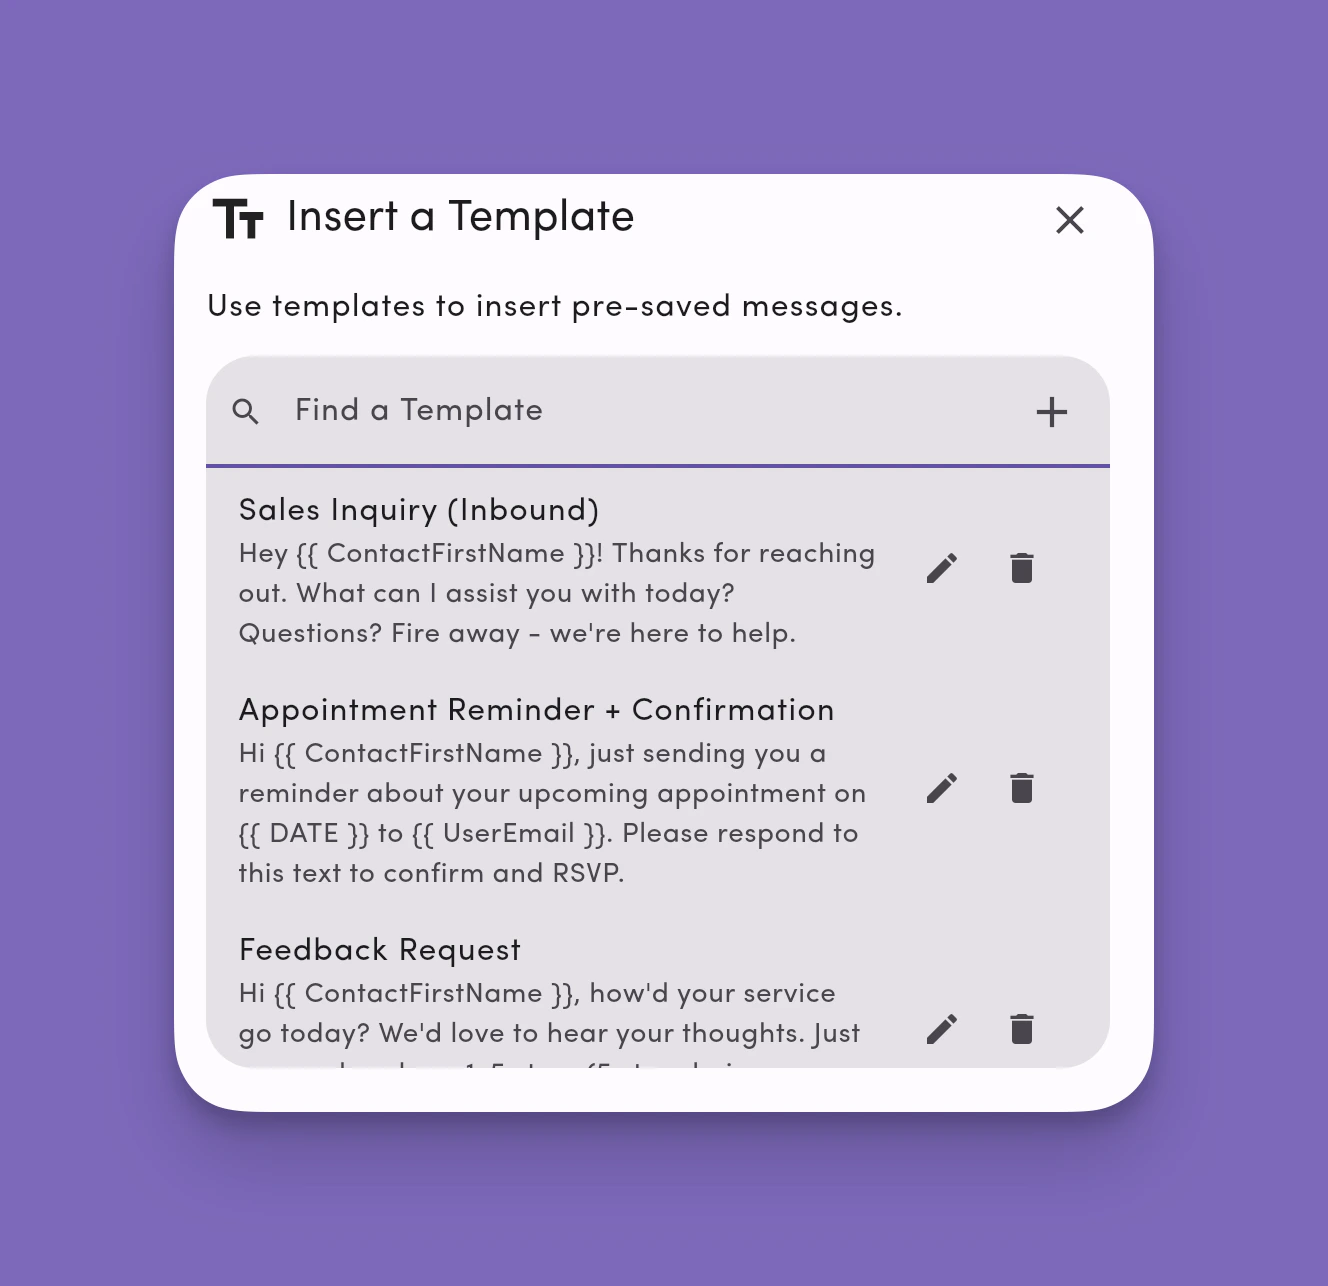
- Search for or select a template. The picker shows each template’s name and description for quick scanning.
- (Optional) Click the preview button on a template to see its full contents before applying.
- The template fills your message field. You can still edit before sending.
Templates in the picker are sorted alphabetically (A–Z) by name.
Create a new template
- Click the TT icon → + Create Template.
- Name your template clearly (so teammates can find it later).
- (Optional) Add a short description. This appears alongside the name in the template picker to help teammates pick the right one.
- Type your message content.
- Optional: Add media, emoji, and personalization tags.
- Click Save.
Edit an existing template
- Click the TT icon.
- Hover a template and click the pencil (edit) icon.
- Update the name, description, and/or content.
- Click Save.
Mobile: You can also create, edit, and delete templates from the MessageDesk mobile app.
Delete a template
- Click the TT icon.
- Hover a template and click the trash (delete) icon.
- Confirm deletion.
Tip: Keep template names short and specific (e.g., “Appt reminder – 24h,” “Invoice past due – 7d”). That makes searching faster and prevents accidental misuse.
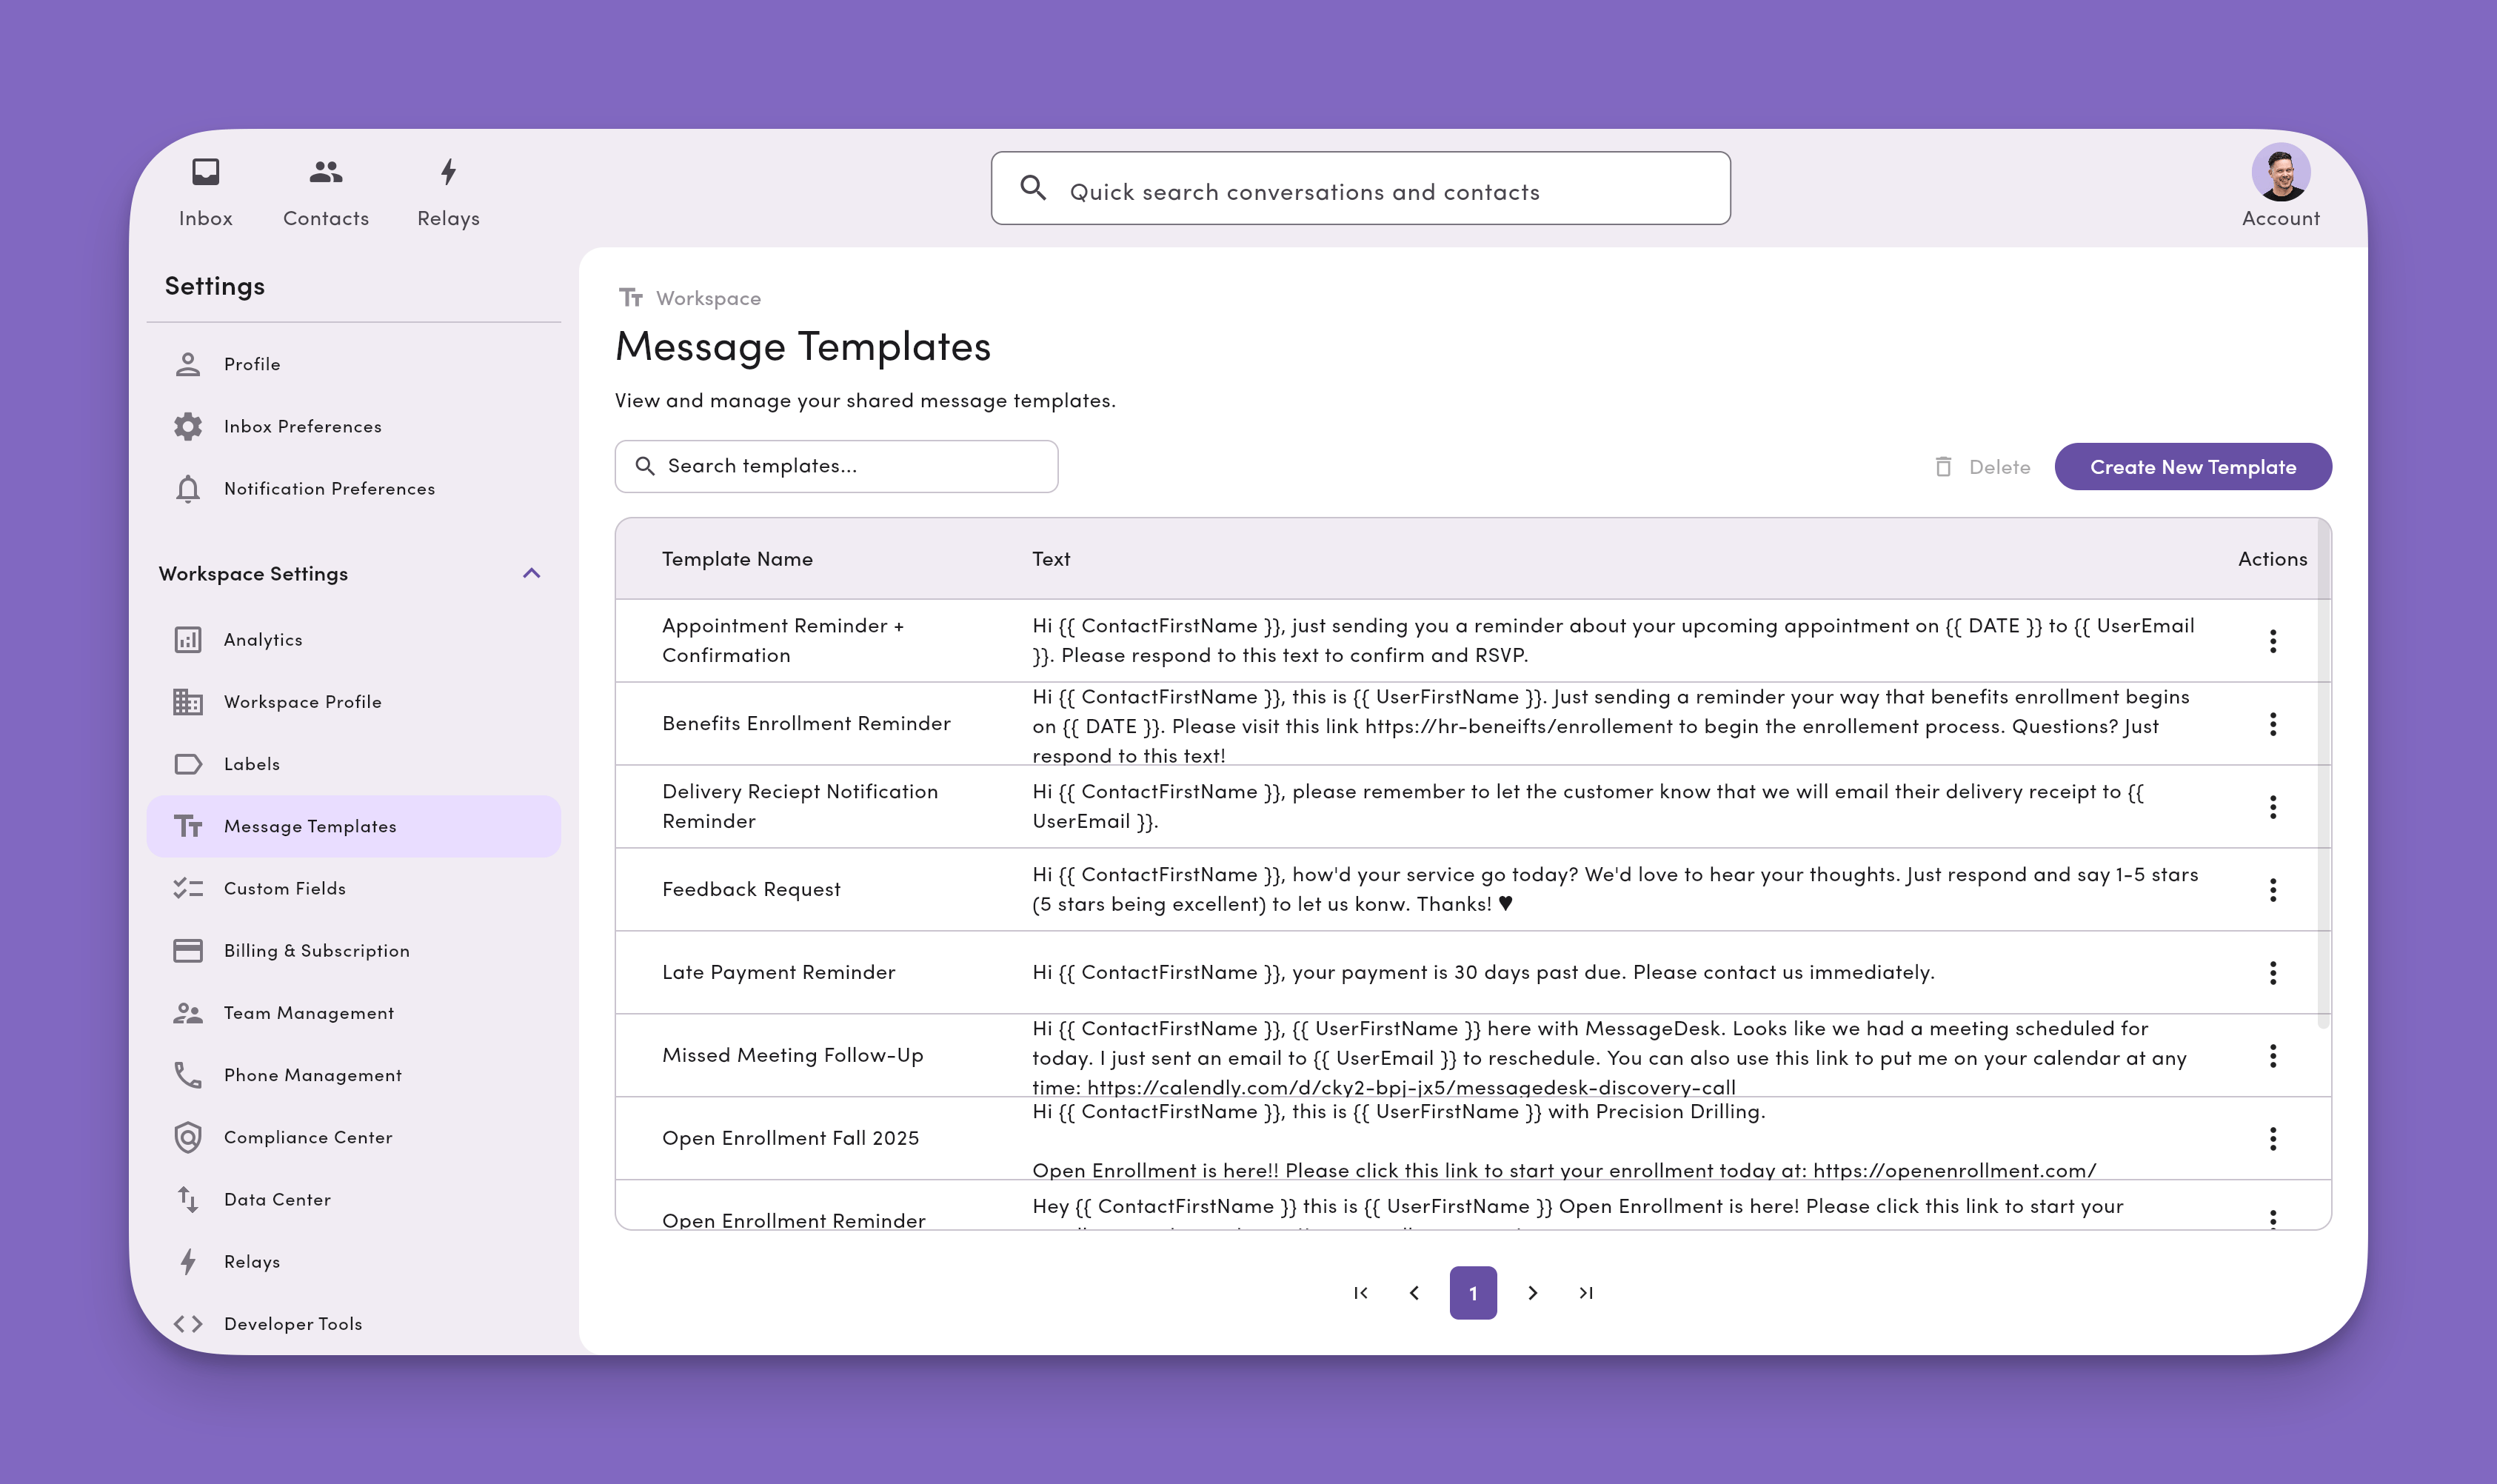
Organize your message templates (Workspace Settings)
Admins and managers can manage all templates from Settings.- Go to Account → Settings.
- Under Workspace Settings, choose Inbox Settings → Templates.
- Search, create, or edit templates from this tab.
Best practice: Use a naming system (Prefix: Purpose – Timing). Example:
- Billing: Invoice paid – receipt
- Scheduling: Appt reminder – 24h
- Onboarding: Welcome – docs request
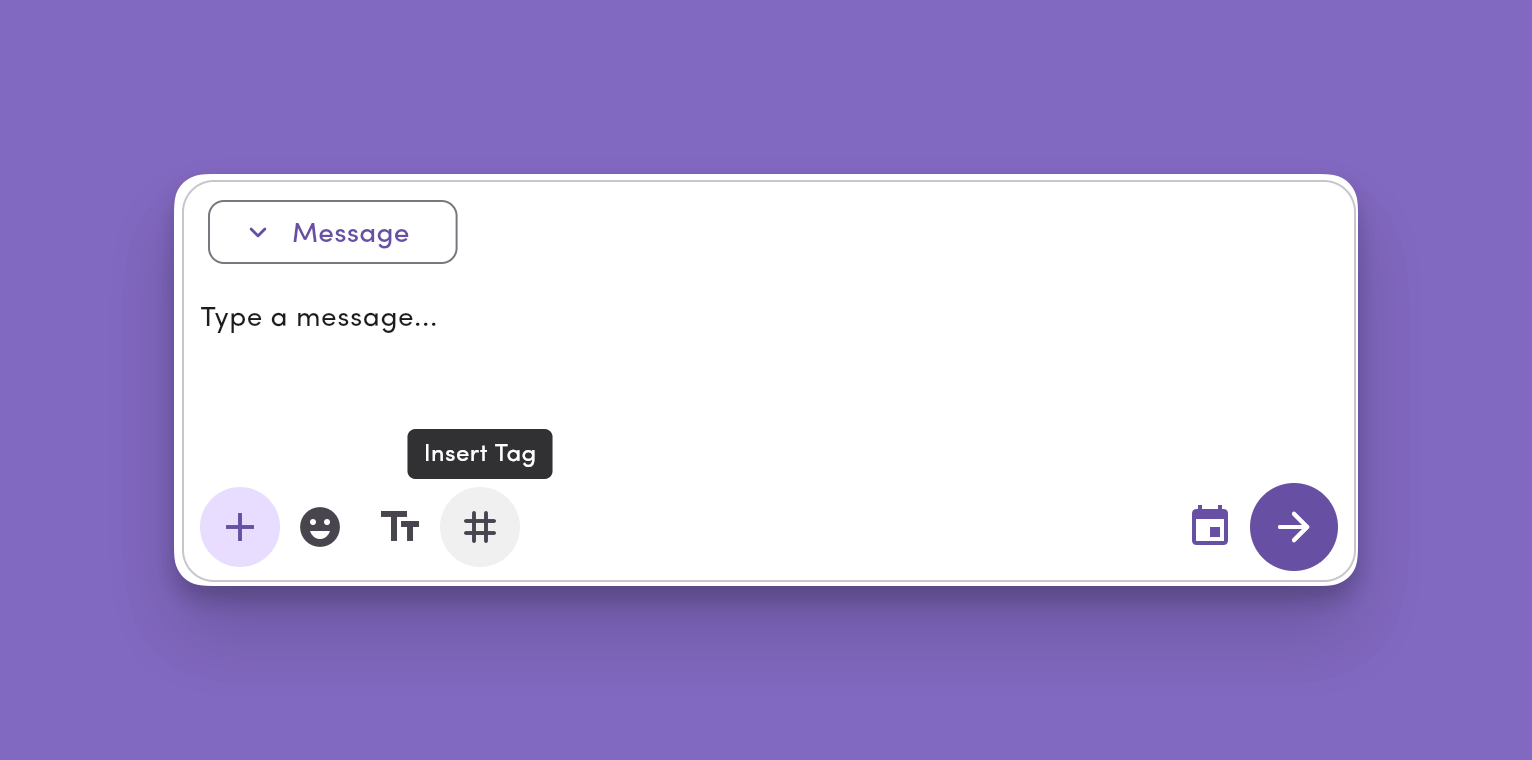
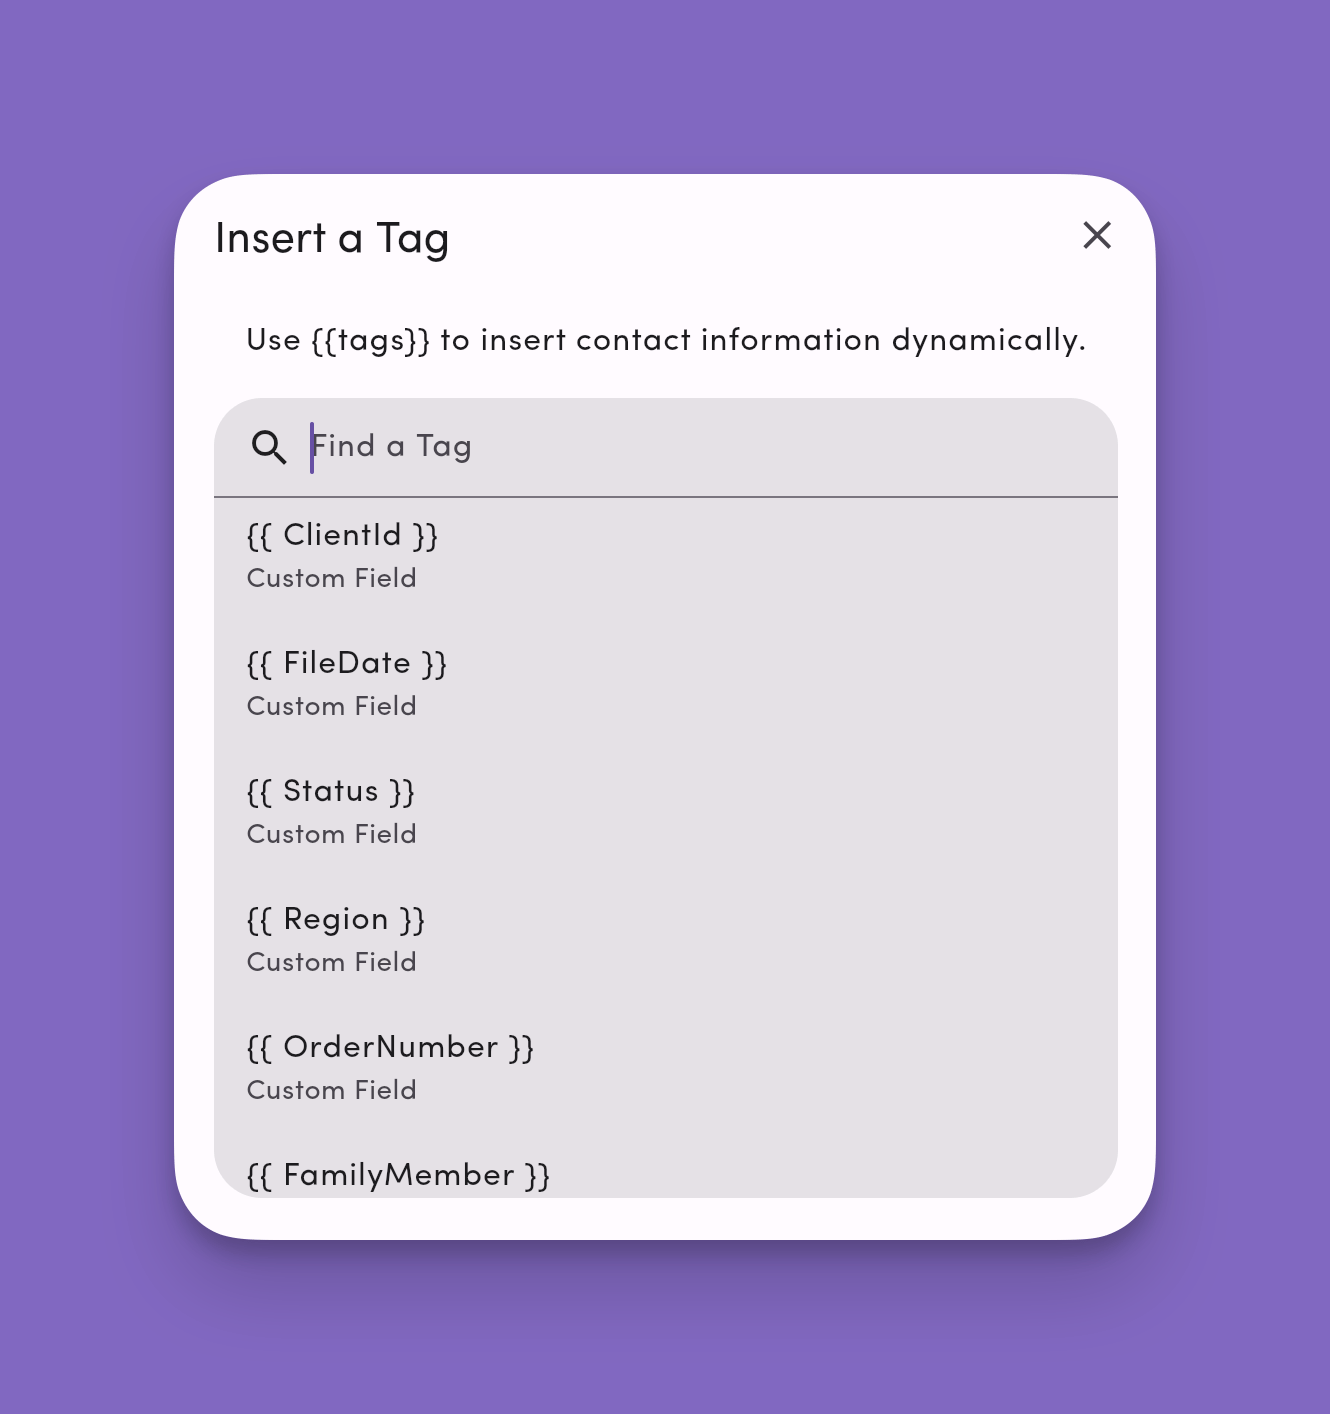
How to insert a personalization tag
You can insert tags in any message, template or one-off.- Click the # icon in the message compose box.
- Search for or select a Tag.
- (Recommended) Set a fallback value so your message still reads well if data is missing.
- Continue composing, then Send or Schedule.
Available tags
Contact{{ ContactEmail }}– contact’s email address{{ ContactFirstName }}– contact’s first name{{ ContactLastName }}– contact’s last name{{ ContactPhone }}– contact’s phone number
{{ UserEmail }}– your MessageDesk user email{{ UserFirstName }}– your first name{{ UserLastName }}– your last name{{ UserPhone }}– your personal phone number saved in your user profile
{{ WorkspaceName }}– your MessageDesk workspace name{{ WorkspaceEmail }}– your workspace’s primary email{{ WorkspacePhone }}– your workspace’s primary phone
{{ Region }}, {{ AccountType }}, {{ RenewalMonth }}). Custom field tags show up in the # menu alongside the built-in tags.
- Tags update automatically when you add, rename, or delete a custom field in Workspace Settings → Custom Fields.
- Set a fallback so the message still reads cleanly when a contact is missing a value.
Note: Tags resolve at send time. In broadcasts, each recipient gets their own personalized version.
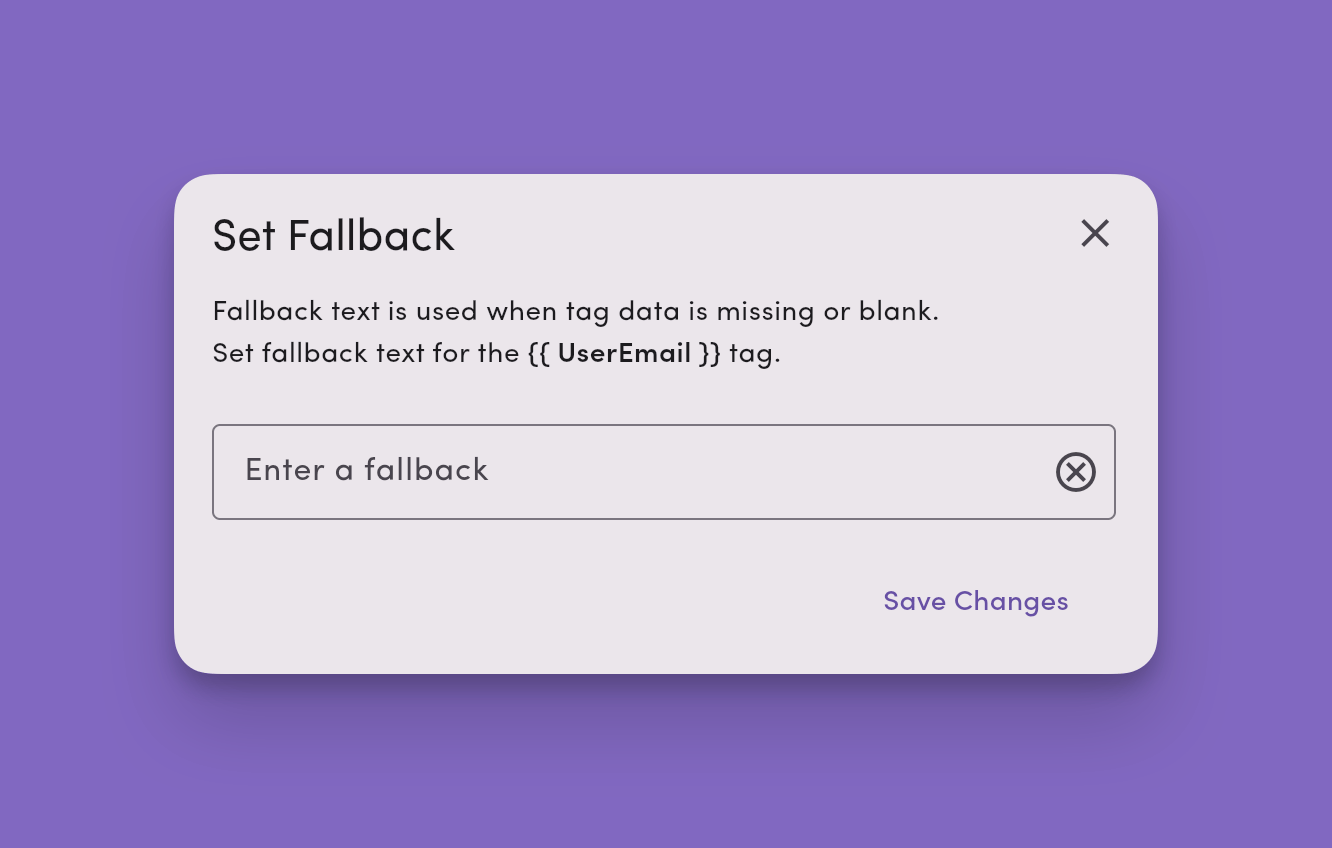
Set a tag fallback (important)
A fallback is the default text used when a tag has no data. For example, when you text a raw phone number that isn’t saved as a contact yet, or when some contacts are missing first names. Why it matters:- Prevents awkward blanks like “Hi ,”
- Keeps broadcasts and other messages clean when data varies across recipients
- Insert a tag via the # icon.
- Click on the tag to add a Fallback value for that tag (e.g., “there” for first names).
- Save or send.
Fallbacks work for custom field tags too. Set a fallback on any custom field tag so messages stay readable when a contact doesn’t have that value filled in.
- Message:
Hi {{ ContactFirstName }}! - With data: “Hi Alex!”
- Without data (fallback “there”): “Hi there!”
Note: tags without a fallback set will appear as red when inserted into a message. A tag with a fallback set will appear in light purple.
Template and tag tips and best practices
- Use short, specific templates. Create separate versions for common scenarios (24h reminder vs day-of).
- Personalize the first line. Use
{{ ContactFirstName }}with a fallback like “there.” - Combine with scheduling. Queue reminders and follow-ups during business hours.
- Keep compliance in mind. For non-conversational or promotional sends, include opt-out language (e.g., “Reply STOP to opt out”).
- Review periodically. Archive low-performers and refine wording based on replies.
Frequently asked template and tag questions
What other kinds of info can I use with tags?
What other kinds of info can I use with tags?
Do tags work with custom fields saved on a contact?
Do tags work with custom fields saved on a contact?
Where do templates and tags work?
Where do templates and tags work?
Can you add media to a template?
Can you add media to a template?
Yes. Templates can include media (MMS), emoji, and tags.
Troubleshooting
- My tag didn’t resolve.
Check that the contact has data for that field and that you set a fallback. Make sure the braces and tag name are correct (e.g.,{{ ContactFirstName }}). - I can’t find a template.
Try a simpler search or confirm the template name in Workspace Settings → Inbox Settings → Templates. - A template needs updating for everyone.
Edit it from the TT menu (pencil icon) or from Workspace Settings so the change applies to all users.